IDE : vscode 사용
- 터미널 창
> npm install -g @vue/cli
> vue create test
> use NPM (선택)
> cd test
> npm run serve
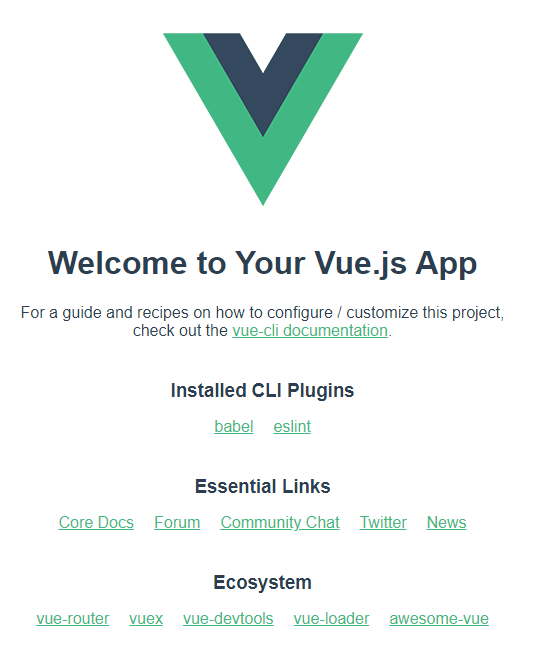
- http://localhost:8080/ 접속하면 아래와 같은 화면이 뜨면 성공
> npm install vue-router --save
라우터 적용할 수 있는 상태가 됨
- layout 폴더 만듬 > Header.vue 생성
상단 메뉴는 갱신이 안되고 하단 컨테츠만 갱신되도록 개발할 예정
https://bootstrap-vue.org 접속후 Get start 클릭(https://bootstrap-vue.org/docs)
BootstrapVue
Quickly integrate Bootstrap v4 components with Vue.js
bootstrap-vue.org
- Using module 찾기
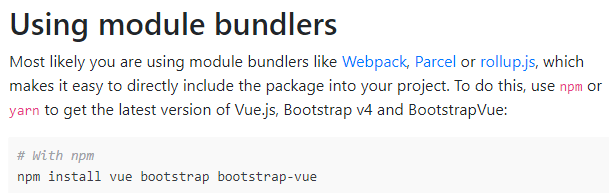
> npm install vue bootstrap bootstrap-vue
부트 스트랩이랑 뷰가 모듈 형태로 node-module안에 들어와 있고 쓸수 있는 상태가 됨
현재 바로 사용할 수 있는 상태는 아님
사용하기 위해 main.js에 추가하면 기본적인 것을 사용할 수 있는 상태가 됨
/* main.js */
import Vue from 'vue'
import App from './App.vue'
import { BootstrapVue, IconsPlugin } from 'bootstrap-vue'

// Import Bootstrap an BootstrapVue CSS files (order is important)
import 'bootstrap/dist/css/bootstrap.css'
import 'bootstrap-vue/dist/bootstrap-vue.css'

// Make BootstrapVue available throughout your project
Vue.use(BootstrapVue)
// Optionally install the BootstrapVue icon components plugin
Vue.use(IconsPlugin)

Vue.config.productionTip = false

new Vue({
  render: h => h(App),
}).$mount('#app')
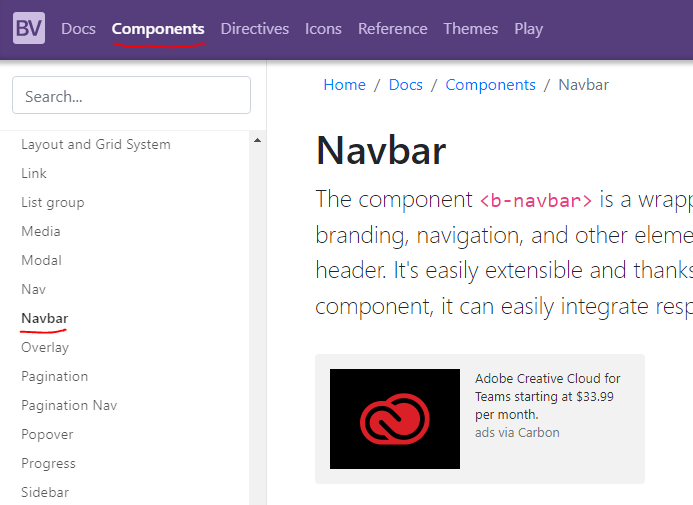
왼쪽 메뉴에서 Components클릭후(https://bootstrap-vue.org/docs/components)
Navbar 클릭
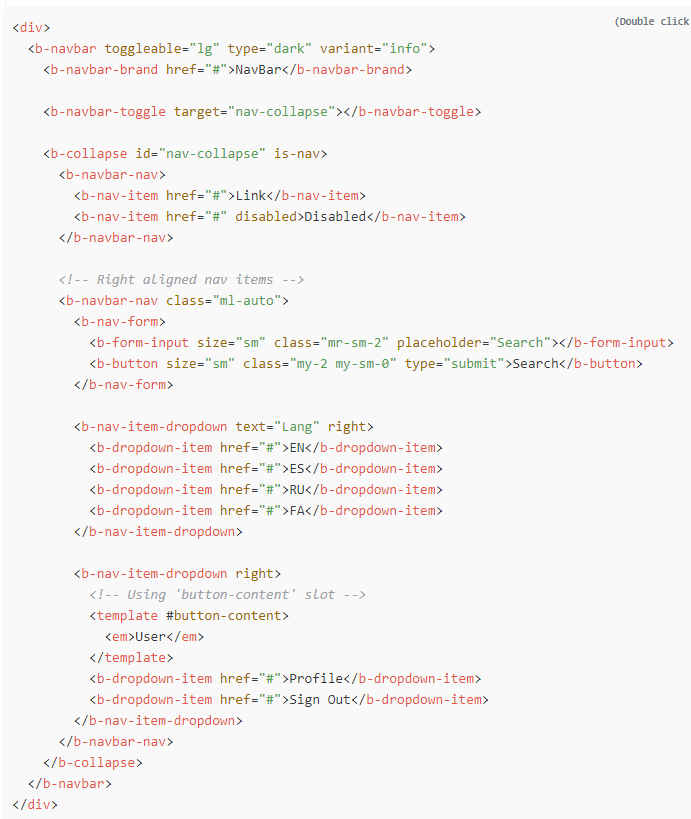
Header.vue
html코드(디자인 담당)
script
디자인에 데이터를 바이딩
이벤트 캐치
서버 통신을 위한 코드
<!-- Header.vue -->

<template>

<!-- Navbar 내용 삽입 -->

</template>
<script>
export default {
    name: "header"
};
</script>
- views 폴더 생성
실제 페이지에 해당하는 components가 들어갈것
<!-- App.vue -->

<template>
  <div id="app">
    <Header /> <!-- components에 Header를 넣어 줘서 사용가능 -->
    <div id="content" class="content">
      <router-view></router-view> <!-- Header는 바뀌지 않고 이 reouter부분만 바뀌게 하려고 함 -->
    </div>
  </div>
</template>

<script>
import Header from "./components/layout/Header.vue";

export default {
  name: "App",
  components: { // Header를 쓰려면 components에 넣어줘야 한다.
    Header,
  },
};
</script>

<style>
#app {
  font-family: Avenir, Helvetica, Arial, sans-serif;
  -webkit-font-smoothing: antialiased;
  -moz-osx-font-smoothing: grayscale;
  text-align: center;
  color: #2c3e50;
  margin-top: 60px;
}
</style>
views 폴더 > Home.vue / About.vue
<!-- Home.vue -->

<template>
  <div>
    <h1>Welcome to Home!</h1>
  </div>
</template>
<script>
export default {};
</script>
<!-- About.vue -->

<template>
  <div>
    <h1>About Page</h1>
  </div>
</template>
<script>
export default {};
</script>
router.js 생성(위치는 main.js와 같다.)
/* router.js */

import Vue from "vue";
import VueRouter from "vue-router";
import Home from "./views/Home";
import About from "./views/About"

Vue.use(VueRouter);

const router = new VueRouter({
  mode: "history",
  routes: [
    {
      path: "/", // 8080으로 접속하면  Home 화면 출력
      component: Home,
    },
    {
      path: "/about", // /about으로 접속하면 About 화면 출력
      component: About,
    },
  ],
});

export default router;
main.js 수정
/* main.js */

import Vue from 'vue'
import App from './App.vue'
import router from './router'
import {
   BootstrapVue,
   IconsPlugin
  } from 'bootstrap-vue'

// Import Bootstrap an BootstrapVue CSS files (order is important)
import 'bootstrap/dist/css/bootstrap.css'
import 'bootstrap-vue/dist/bootstrap-vue.css'

// Make BootstrapVue available throughout your project
Vue.use(BootstrapVue)
// Optionally install the BootstrapVue icon components plugin
Vue.use(IconsPlugin)

Vue.config.productionTip = false

new Vue({
  router, //앱을 마운트 할때 router를 쓸수 있는 구조가 됨
  render: h => h(App),
}).$mount('#app')
출처
'프론트엔드 frontend > Vue' 카테고리의 다른 글
| Vue.js (0) | 2023.07.28 |
|---|
댓글